How To Partition Your Hard Drive In Windows 7
Windows 7 comes with the option of shrinking or expanding your hard drive into more partitions or not. Unlike the old Windows excluding Vista, this doesn’t require any 3rd party applications.

Lets get started.
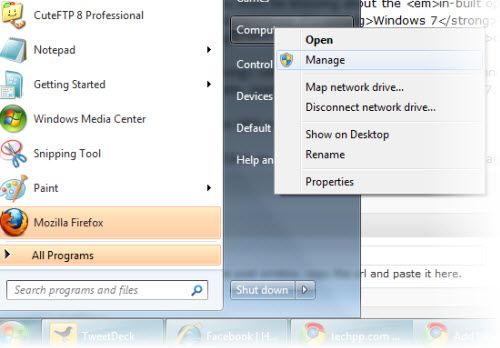
1. Goto Start and Right Click Computer. Click Manage.

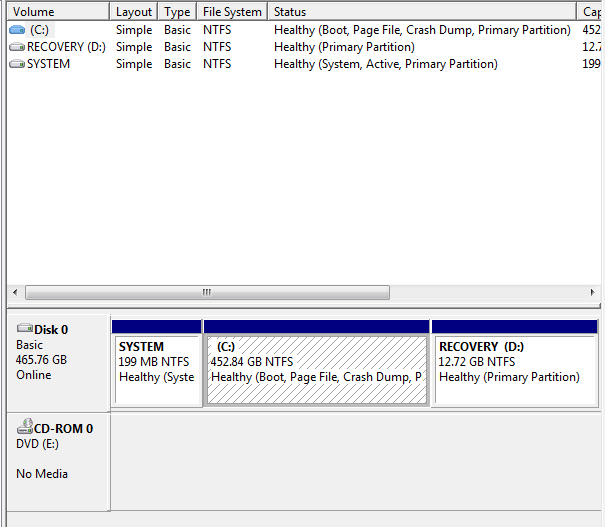
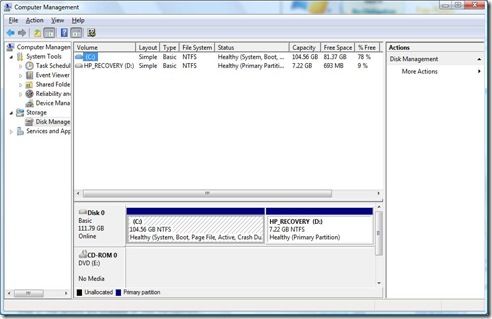
2. A computer management dialog box should open. Click on Storage and then Disk management.

3. Select and right click on the drive you want to partition and then click Shrink partition.
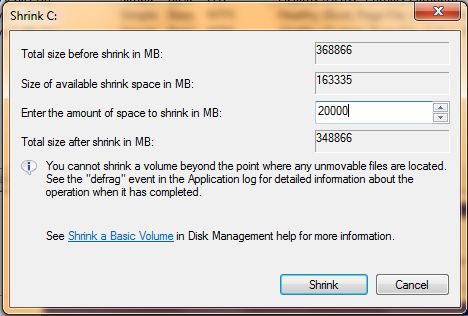
4. It will display the size of free space available and the total amount available for shrinking the drive to i.e the amount you specify will be the size of the new drive.

5. Depending on the size of the drive you specified, this will take a while. Next you will see an allocated drive you just created. Right click on it and then click New Simple Volume.
6. The wizard will do the necessary. Specify the size of the drive and normally its the size you shrunk the previous drive to.
7. Choose a drive letter. On the format page, check NTFS and then enter a name for your drive.
Thats about it! You just partitioned your drives without any 3rd party applications.

0 Comments:
Post a Comment
<< Home