How to Jailbreak Your iPhone 3GS 3.1.3 Firmware Using PwnageTool
If you just recently updated to the iPhone 3.1.3 (3GS) firmware and really want to install those Cydia applications. This is how you can easily jailbreak your iPhone using a Mac.

How to Jailbreak Your iPhone 3GS 3.1.3 Firmware Using PwnageTool
Create a folder named “Pwnage” on the desktop. Now you’ll need couple of things for the jailbreak process .First download PwnageTool 3.1.5, found here or here.
Next step is to download iPhone 3GS firmware – 3.1.3 (3GS): iPhone2,1_3.1.3_7E18_Restore.ipsw
Make sure you have download the ipsw using your Firefox browser, otherwise Safari would auto extract the file rendering it useless.

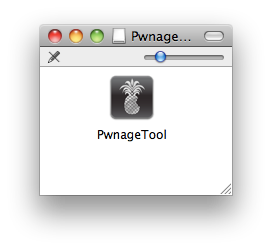
Now double click the PwnageTool 3.1.5 and copy the PwnageTool to your “Pwnage” folder on the desktop.
Step 3.
Now double click launch the PwnageTool application.

Step 4.
Now click on Expert mode on the top menu bar

Step 5.
Click on iPhone 3GS , checkmark will appear after you have clicked.

Step 6
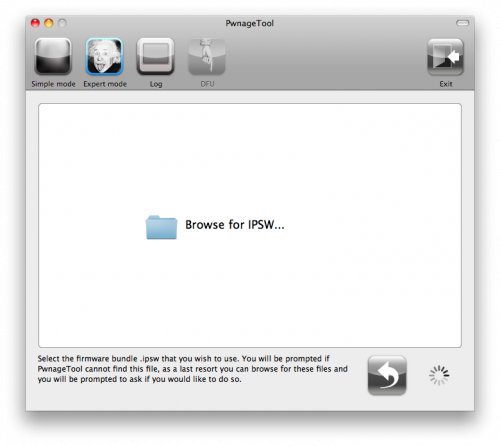
After clicking on the blue arrow, You will be brought to the “Browse for IPSW” page. Word of caution make sure you have dismounted your Windows partitions before accessing the page, otherwise you can always browse for the ipsw.
Step 7.
Now click to select the found IPSW file, a checkmark will appear. Now click on the blue arrow to continue to the next page.

Step 8.
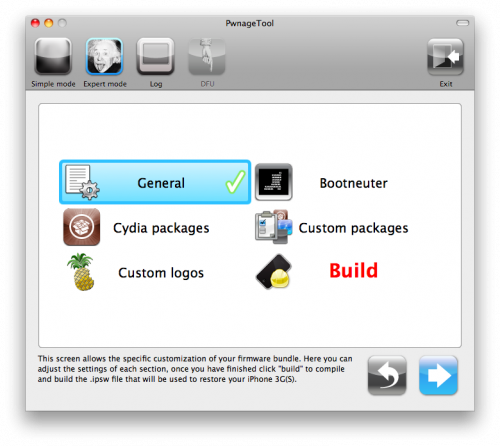
In the next menu you’ll be presented with 7 choices, select General and click on the blue arrow to continue.
Step 9
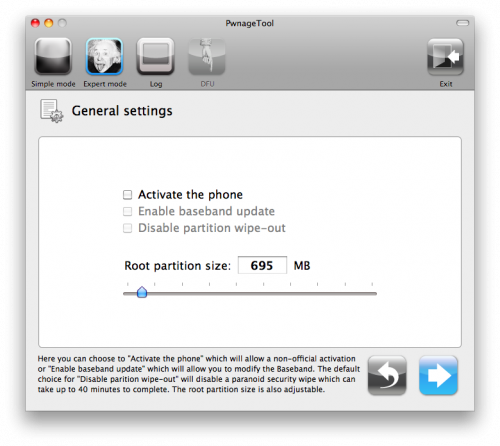
Under the General menu you can increase or decrease the size of the root partition. As this is a jailbreak tutorial we won’t select the “Activate the phone”
Step 10
In the next menu, Bootneuter settings are greyed out since haven’t selected the “Activate the phone” setting in the General menu. Click on the blue arrow to continue.
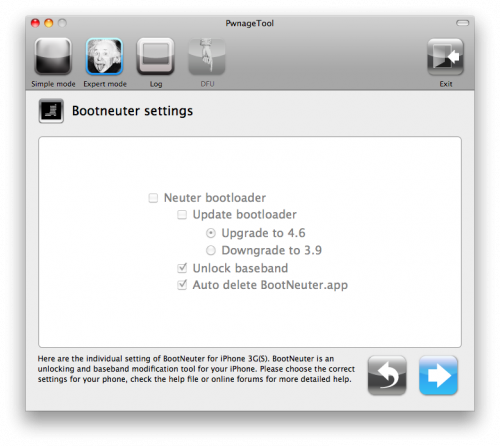
Step 11.
Now the Cydia settings menu allows you to create custom packages so you do not have to manually install the necessary them later.
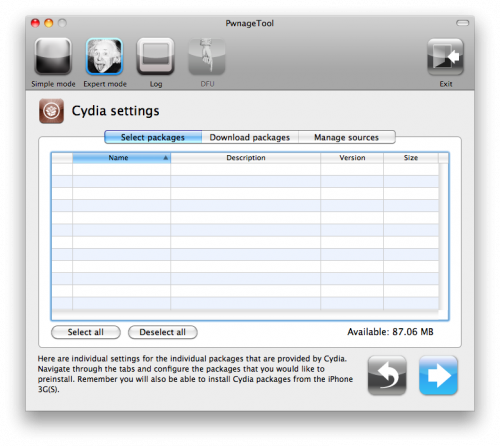
Step 12
Click on the Download packages tab. Click the refresh button to display the available packages. Double clicking the package you want will download it and make it available in the Select Packages tab.
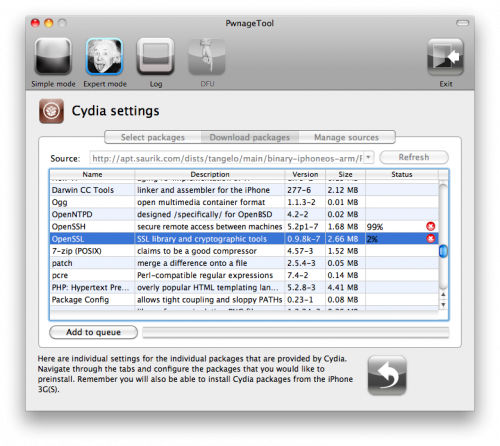
Step 13.
Now checkmark the ones you want then Click the blue arrow button to continue.

Step 14.
Custom packages displays the listed packages that you have selected previously for the custom ipsw. Now click on the blue button to continue.
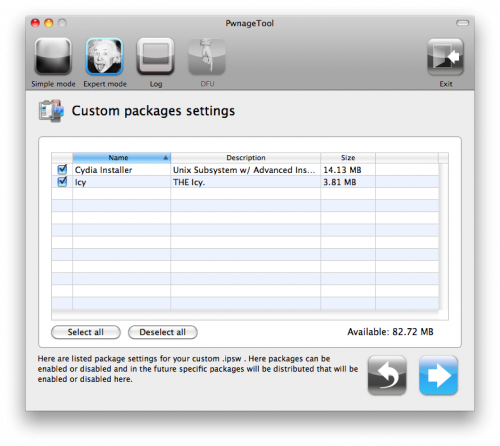
Step 15.
Now in the Custom Logos menu you can use you logos for the recovery and logon screen.

Step 16
If you are ready lets start the pwnage process! Click the Build button to select it then click the Blue arrow button to begin.
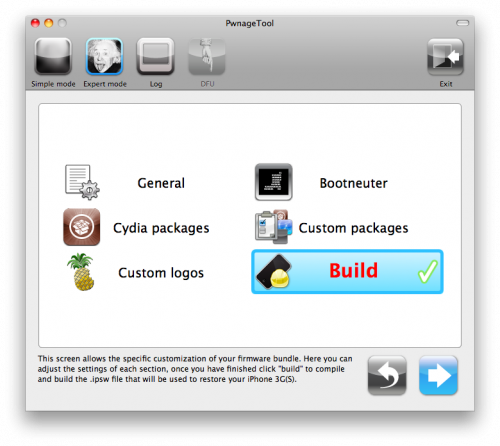
Step 17.
Now PwnageTool will ask you to save your custom .ipsw file. Save it to your Pwnage folder you created on your Desktop.

Step 18.
Building the ipsw will take about 10 to 15 minutes . Make yourself a cup of coffee or popcorn!! :)
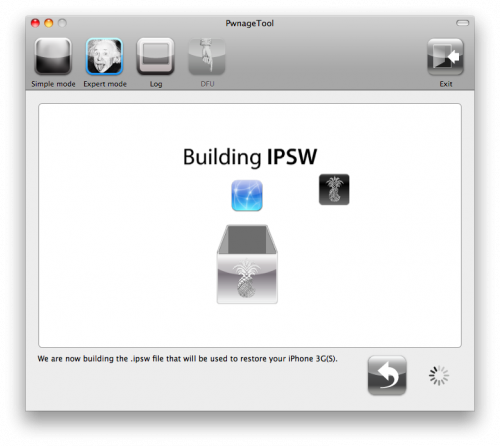
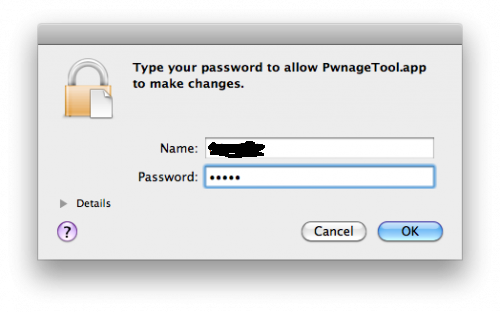
You will be asked to enter your administrator password. Enter your login ID and pass ,then click the OK button.
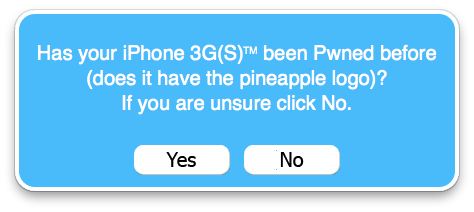
You will be asked if your iPhone has been pwned before. If unsure click the NO button.
Now connect your iPhone if it isn’t already connected to the computer.

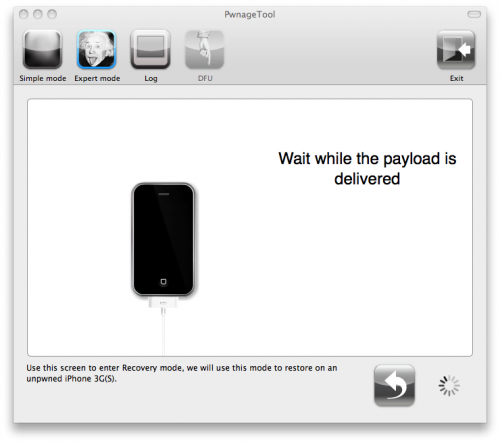
After delivering the payload PwnageTool will have placed your iPhone in recovery mode. Click OK to close the popup message telling you this.
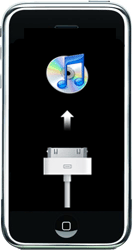
iTunes will show a pop-up saying it has detected an iPhone in recovery mode.

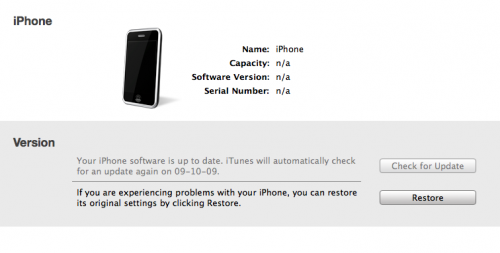
In iTunes, hold the Alt/Option key and click Restore.
Browse to the Pwnage folder on your desktop using the dialog window, Select the custom IPSW that was created (iPhone2,1_3.1.3_7E18_Custom_Restore.ipsw) and click the Open button.

iTunes will take upto 10 minutes to restore the firmware. Once done you will be rebooted into jailbroken iPhone 3GS OS 3.1.3! Enjoy

0 Comments:
Post a Comment
<< Home